Recently quite a few friends have asked me how I put together the photo wall in my home, saying it looks really interesting. Today I’d like to share some of the little tips and methods I’ve picked up while making it. Hopefully they’ll give you some inspiration if you’re thinking about creating a photo wall of your own.
Step 1: Picking the right spot matters more than anything
A lot of people, when making a photo wall, jump straight into printing photos and planning the shape. But that’s not actually the first step. The very first thing is to choose the location for your photo wall.
I learned this the hard way. The first spot I chose was near the balcony, and that area got several hours of direct sunlight every day. Before long, some of the photos on the wall started to fade and change color, while the rest stayed fine. The wall ended up with two different tones, and it looked terrible. In the end, I had no choice but to take everything down and start all over again.
So step one: make absolutely sure you pick a spot that won’t get hours of direct sunlight and isn’t damp. This is crucial — don’t make the same mistake I did.
Step 2: Plan the overall outline of your photo wall
Once you’ve settled on the location, you can start thinking about the overall shape of your photo wall. I usually consider three types:
1. A neat, regular rectangle
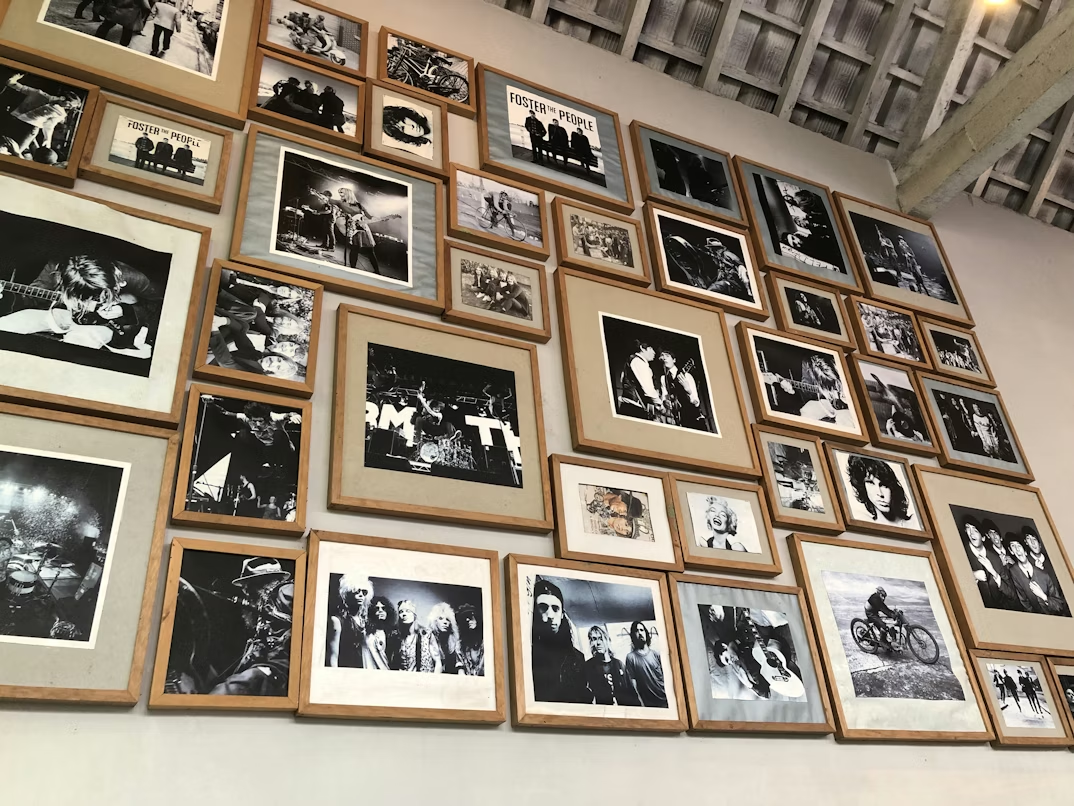
This gives you a tidy rectangular or square area as a whole. I personally think it works best on a very large blank wall, and only if you have plenty of photos. If you don’t have enough photos, forcing a big, perfectly regular rectangle will just make it look sparse and unattractive. So the takeaway is: a large wall and lots of photos — that’s when it feels spacious and impressive.
2. Irregular rectangles
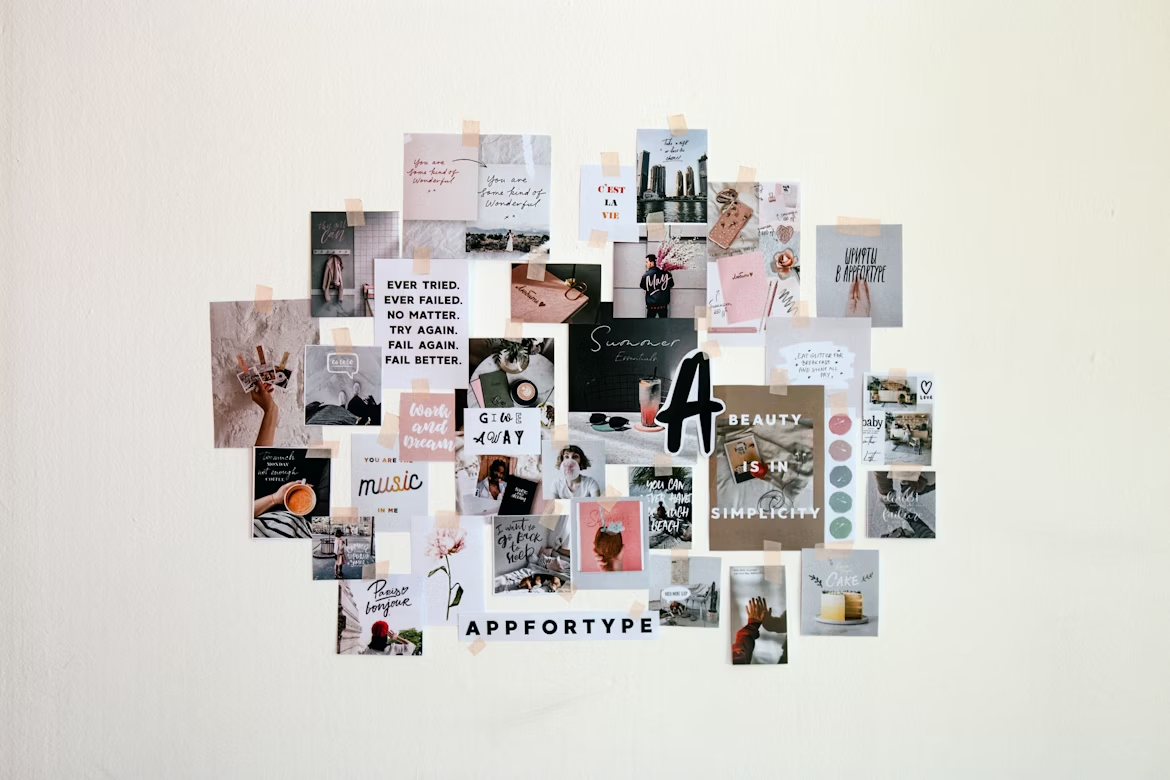
Think diamond shapes, trapezoids, or tilted rectangles… I quite like these shapes myself. They’re not too rigid, yet they don’t feel chaotic either. I usually place an arrangement like this on a relatively smaller wall, and the effect is really pleasing.
3. Freeform shapes
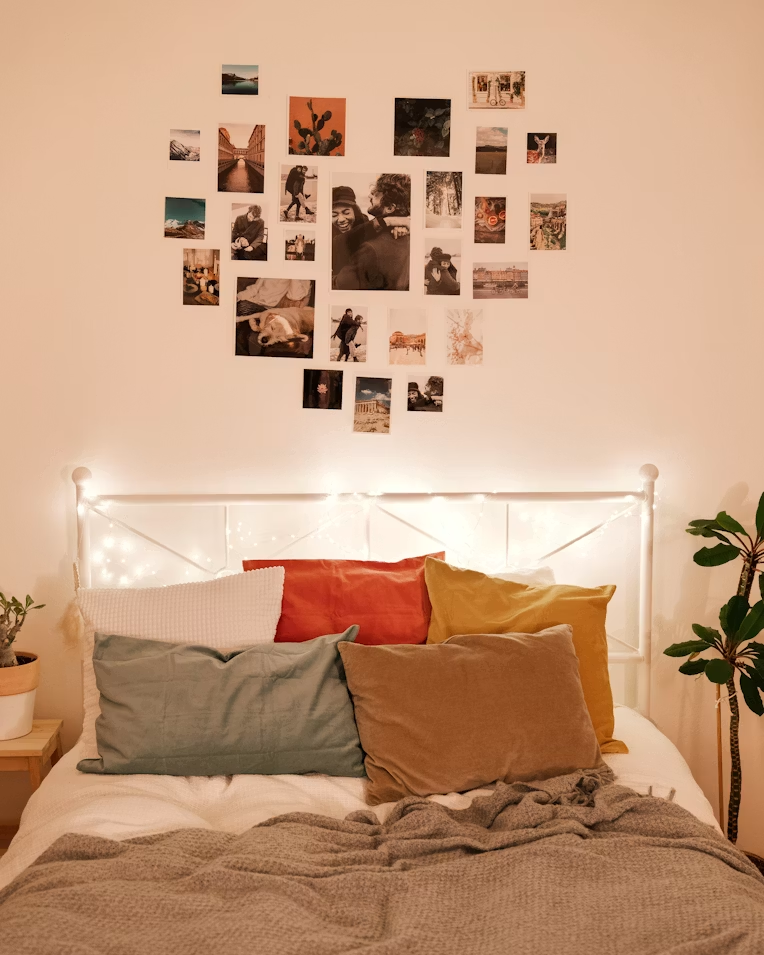
For example, stars, hearts, or clouds. I typically go for these when I have fewer photos or a really small wall, mainly for decoration or as an accent.
My son absolutely loves these, so sometimes I’ll create a small photo wall just for him, using the shapes and area he likes.
Whichever outline you choose, I suggest lightly sketching the shape on the wall with a pencil right at the start. You don’t need to press hard — just enough so you can see it. Otherwise, as you start putting the photos up, you’ll find the final shape looks nothing like what you originally imagined.
Step 3: Prepare your photos, and decide the sizes based on the outline
The most important principle at this step is: let the outline shape guide how you handle your photos.
- If you’re going for a large, neat rectangle, it’s best to make all the photos the same size — this gives a much more cohesive look. You can use our Square Page page, or go straight to the Crop Page feature. This lets you crop every photo to the exact same dimensions, so they’ll look beautifully uniform when printed.
- If you’re doing an irregular rectangle or a freeform shape, you can get a lot more creative. Use photos of different sizes — for example, make some smaller with our Resize Page, or crop circular photos using the Crop Page page.
I especially want to mention circular photos. Sometimes, placing one in a corner as an accent or to fill a gap can be the perfect finishing touch. A photo wall that might otherwise feel a bit stiff instantly comes to life with one or two round photos. I personally love adding circular photos to my walls — they create a pleasant “unexpected irregularity” that makes the whole thing more fun. And you can easily pull this off using our website’s Crop Page.
Finally: Enjoy the process more than the outcome
When it comes down to it, I believe the most important thing about a photo wall isn’t how perfect the finished result looks — it’s how much you enjoy the process of making it.
Whether it’s with your son, your daughter, your wife, or your husband — choosing the photos together, editing them, cropping them, and finally sticking them up on the wall as a family… that whole process is incredibly heartwarming, and it really strengthens the bond between you.
I truly encourage you, if you get the chance, to create a photo wall at home. Bring your kids, bring your partner, and experience the process together. You’ll find that the photos end up on the wall, but the joy — that stays right in your heart.