I often go out for street photography, and naturally, post-processing is always part of the routine. I used to play around with all sorts of fancy techniques, software, color grading, filters, tweaking settings… After all that experimenting, I finally realized that composition matters most.
The problem is, when you’re shooting on the street, beautiful moments come and go in a flash — there’s simply no time to carefully compose. That’s when it hit me: the most basic, yet most effective post-processing trick is cropping. Just crop the original shot, and the composition instantly improves.
Today I’d like to share how you can use our website’s Crop Page to give your photos more texture and make them look better.
1. Subject Cropping: Less Is More
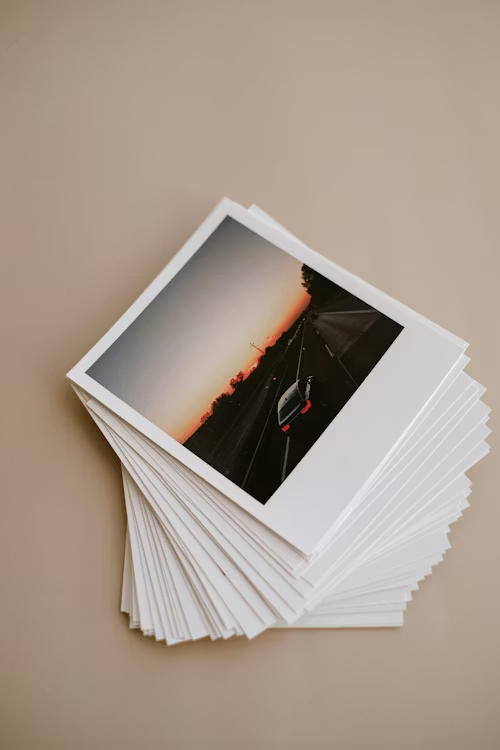
Most photos feel uncomfortable to look at simply because they contain too much information — too many elements cluttering the frame. A lot of the time, all you need to do is remove the unnecessary parts, keep only the core subject, and the visual texture immediately jumps out.
When cropping around the main subject, keep a few things in mind:
- Try to follow the rule of thirds after cropping.
- If your subject includes elements with strong, extending lines — like staircases, roads, or rooflines — let them stretch along a diagonal to give the composition more dynamic tension.
Remember the principle: less is more. Photos that feel sophisticated are often the ones that show restraint.
2. Changing Aspect Ratios: Creating Different Moods
This is a trick I absolutely love. My two go-to aspect ratios are 4:3 and 16:9.
4:3 — The Most Comfortable and Natural
The 4:3 ratio closely matches the way our eyes see, so it feels especially comfortable and harmonious. If you’re shooting everyday moments, street scenes, or documentary-style subjects, 4:3 works beautifully — it gives the viewer a strong sense of being right there in the moment.
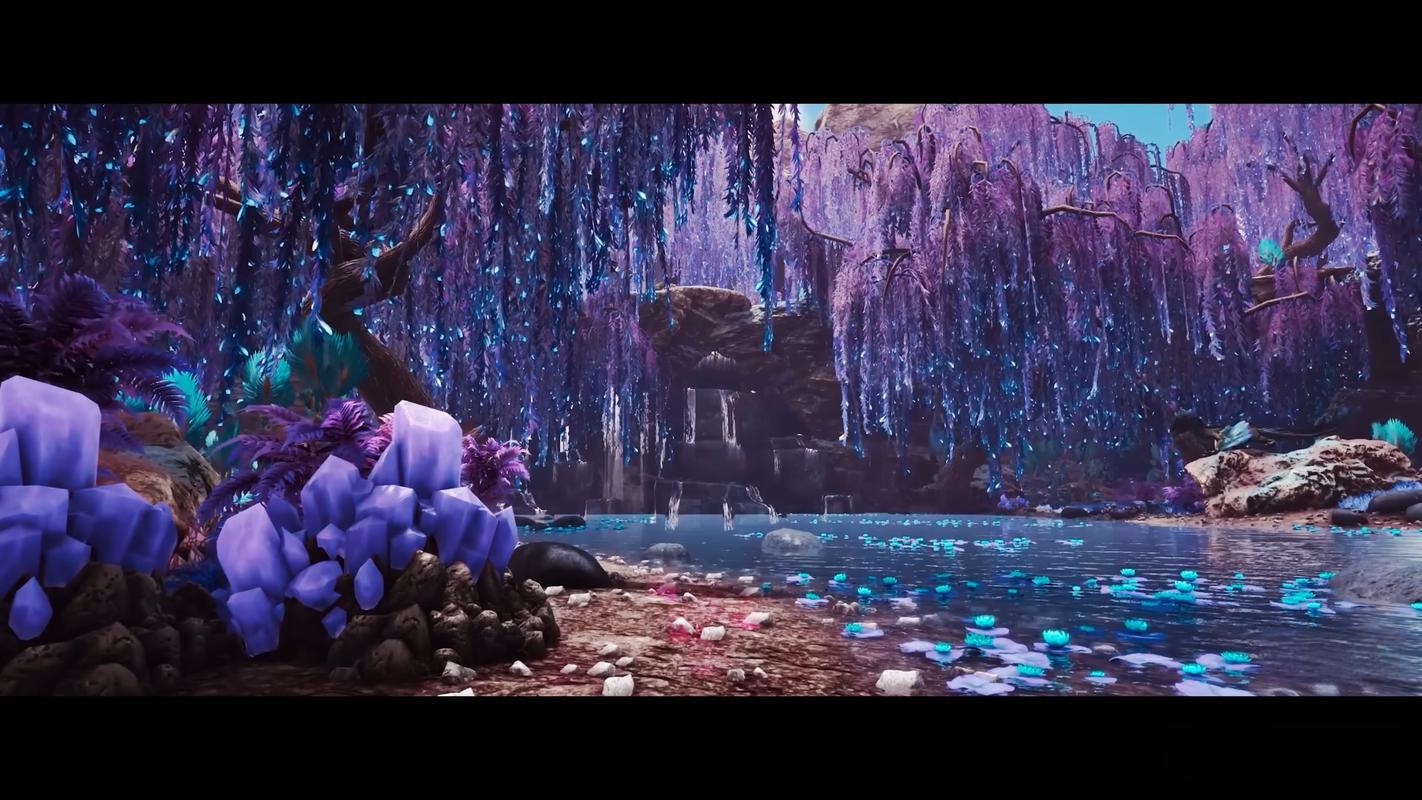
16:9 — A Cinematic Feel
16:9 is another personal favorite. It primarily creates a strong cinematic atmosphere. When you want your photo to tell a story or convey a certain mood, 16:9 is spot on. Many shots that look totally ordinary suddenly feel deeply atmospheric the moment you crop them to 16:9.
3. My Cropping Tips
1. Pay Attention to Details — Don’t Overlook the Little Gems
If your photo feels flat, take a closer look at the small details inside it:
- Where’s the light and shadow? Can you isolate them by cropping?
- Ripples on the water, the texture of leaves, the grain of a wall, the lines of a roofline, the pattern of a pavement…
So many unexpected gems are hidden in these tiny details.
2. Photographing Women: Watch Out for These Two Pitfalls
I often take photos of my wife, so I’ve definitely fallen into these traps myself. Here are my go-to fixes:
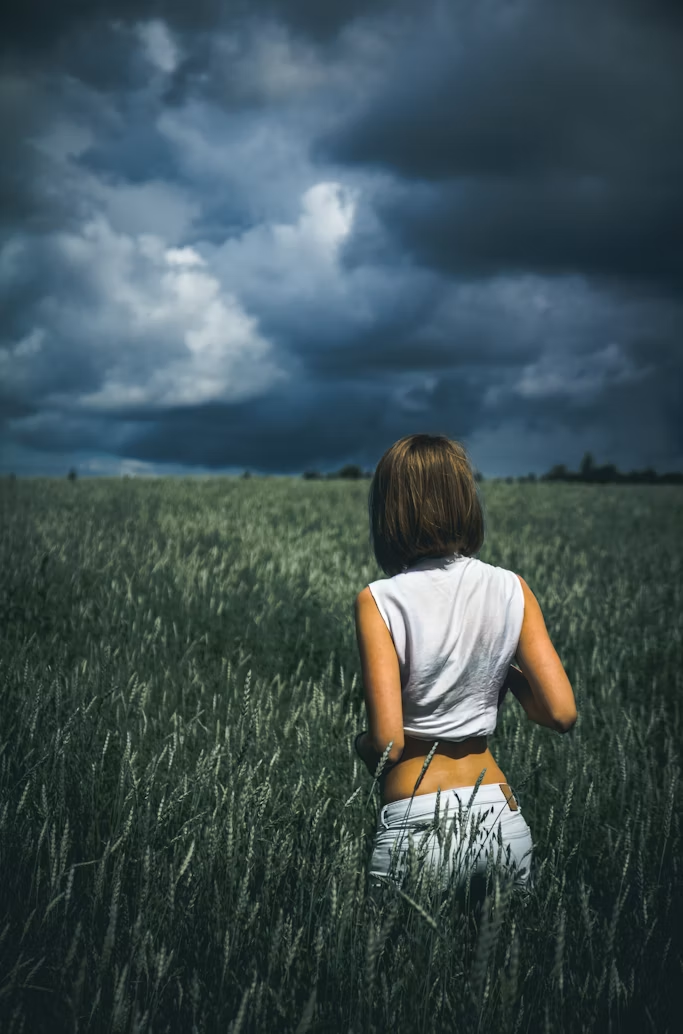
- Made her look shorter? Keep the part from her legs down to her feet when cropping, and trim a little of the empty space above her head. This creates a visual stretching effect that makes her look taller and more slender.
- Face looks too wide? Give up the full-body shot and crop to a close-up portrait instead. This draws attention to her features and expressions.
3. Never Crop at the Joints!
This is crucial: never crop right at someone’s joints, like the knees or wrists. Otherwise, it looks like an amputation — really odd and unsettling.
Once, without paying attention, I accidentally cropped right at my wife’s knees, and she looked like a dwarf in the photo… Let’s just say dinner that day tasted particularly awful. A painful lesson — please remember it.
I hope our website’s Crop Page helps you create beautiful photos more easily during your post-processing. Give it a try!