I ran a traditional e-commerce business for about a year — basically an online store. At its peak, I hit 100,000 yuan in monthly sales, but it still went under in the end, haha.
Today, I’d like to share how to use our Crop Page to create product main images, and also talk about some of my own tips from running the store.
I believe whether a product listing gets traffic largely depends on how good the main image is. If your main image is strong and your SKU setup makes sense, you’ll almost never have zero sales.
1. Where to Place the Subject?
Everyone knows that e-commerce main images are 1:1 squares. Most people’s first instinct is to put the subject right in the center. But actually, that’s not the best approach. You should place it slightly off-center.
Why? When viewing a square image, the eye does naturally fall on the center. But if you frame the subject perfectly dead-center, the whole image will look rigid and lifeless. When people look at your product, it will feel dull and monotonous.
So when you use the Crop Page to crop a square from your product photo, make sure the subject isn’t exactly in the middle. A slight offset often gives a much better result.
2. More White Space or Less?
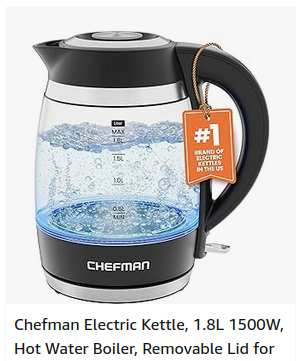
When it comes to white space, there are tons of tutorials online. Some say use plenty of white space, others say make the subject stand out. So when do you use which approach? Many guides don’t make this clear.
My rule of thumb is simple:
- If you’re selling something relatively affordable and value-for-money, use less white space. Make the product as large and clear as possible in the main image. This gives a sense of “this is a solid deal, great value.”
- If you’re selling high-ticket items or luxury-type products, you need more white space. White space creates an atmosphere and a sense of premium quality — that’s what justifies the higher price.
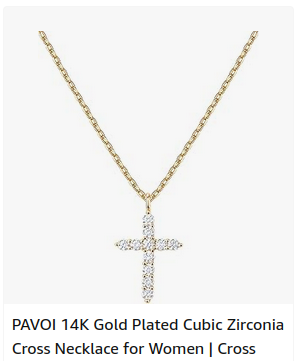
One note: even for high-end products, you don’t want every main image to have lots of white space. When showing product details, you should still use less white space so customers can clearly see the fine craftsmanship.
3. What About Long or Wide Products?
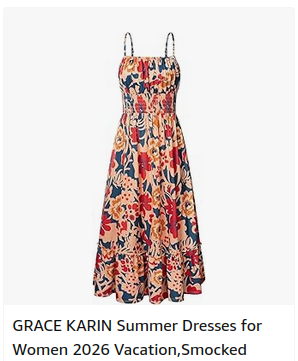
Some products just don’t get along with the square format — they’re either very long or very wide. A women’s dress, for example, is an extremely long item. So what should you do in a square main image?
First of all, never squash or stretch the product to fit. For something like a dress, if you distort the proportions, it looks weird, and customers will notice the difference when they receive it.
The best approach is to keep the original proportions in the main image, with some space above and below, and don’t squeeze it horizontally. Just leave it as it is.
Some might say, “But then I can’t see what the dress really looks like!”
Don’t worry — there’s more than one main image. The first image gives an overall impression and feel. The following images can show details by area: the neckline, buttons, tailoring, how it fits on the upper body, and so on.
This way, customers get an overall sense first, then see exactly what each part looks like through the detail shots.
In practice, you’ll have a high-res 4K photo from a DSLR. You can easily use our Crop Page to crop different areas into squares and create separate main images for each part.
One Last Mindset Tip
Whenever I’m making main images, I always tell myself: “I have this product and I really want to show it to a close friend.” What photos would I take for them? What would the overall shot look like? What details would I want them to see? If I were genuinely excited to recommend this to a friend, how would I take the pictures and describe it? That mindset is the best source of content for your main images.