I’m an indie developer and a content creator. Most of the time, I take my own photos for image assets. But occasionally, I inevitably turn to some non-commercial or copyright-free stock images. After all, some images are just really popular right now, right? When I do use them, I still want to make them look as original as possible.
When it comes to “improving originality,” I actually look at it from two perspectives:
- Platform algorithm perspective: I want the algorithm to detect some “freshness” in the image and give it a slightly higher originality score.
- Viewer experience perspective: I don’t want people to see an image they’ve already come across countless times. If that happens, their first instinct is to scroll past, and your traffic naturally suffers.
So, the core idea is simple: we aim for originality to make viewers stick around a little longer, not to forcefully turn someone else’s image into a completely original piece of our own.
Here are the four methods I use most often, and you can achieve all of them directly with the tools on our site.
1. Flip (Horizontal / Vertical)
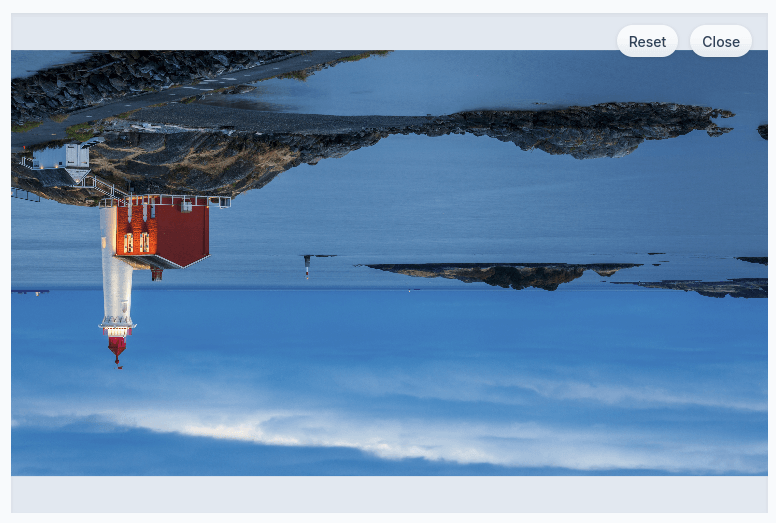
You can do this right on our Flip Page. Sometimes I find flipping to be a magical operation. A normal image might look weird if you forcefully flip it, but with some images, flipping can yield unexpectedly cool results.
For example: flip a set of surfing photos and they suddenly become really interesting; or take some sky photos, flip them, and the whole vibe turns intriguingly different.
What kind of images work well with flipping?
Images that already feature mirror-like scenes or are naturally suited for mirroring. Think symmetrical landscapes, water reflections, and so on. Horizontal or vertical flips on these often look stunning and especially eye-catching.
What not to do: Never vertically flip a photo with people in it. A flipped face looks weird and deliberate. When viewers see something that unnatural, they will scroll right past.
2. Forced Aspect Ratio Stretching
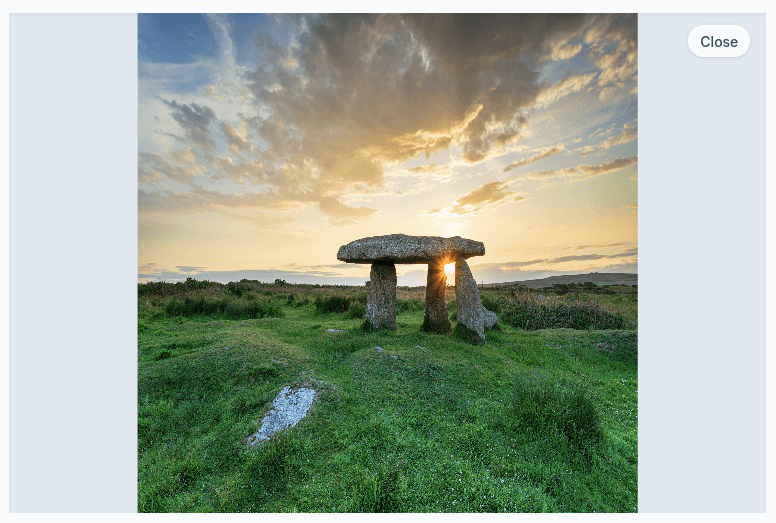
You can use our Square Page to achieve a forced stretch effect.
This method might sound counterintuitive. You’re probably thinking: if an image is forcibly stretched, won’t it get distorted? Can it still look good?
Not necessarily. Many images won’t feel awkward as long as the stretch ratio isn’t too extreme. A forest landscape or a sky photo, stretched within a reasonable range, doesn’t become weird; instead, it can take on a completely different style from the original.
3. Partial Cropping
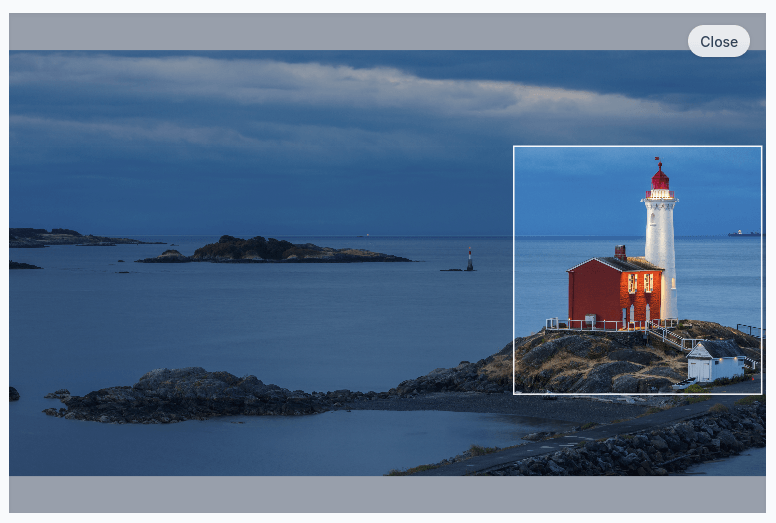
I think this is the best method of all. If your source material is high-resolution and you have a good eye for composition, this is an absolute game-changer. You might even create an image that looks better than the original.
Why? Because many images contain too much information, and their compositions aren’t necessarily great. By cropping appropriately and applying your own aesthetic judgment, you can completely transform it into a unique, original image and give it a fresh start.
This method requires two things, though:
- Your personal aesthetic sense
- High resolution of the source material
But when done right, the results are the most stunning out of all these methods. You can use our Crop Page for this. Just adjust the crop frame, move it around with your mouse, and select the most compelling part.
4. Grid Cropping (3×3 Grid / 2×2 Grid)
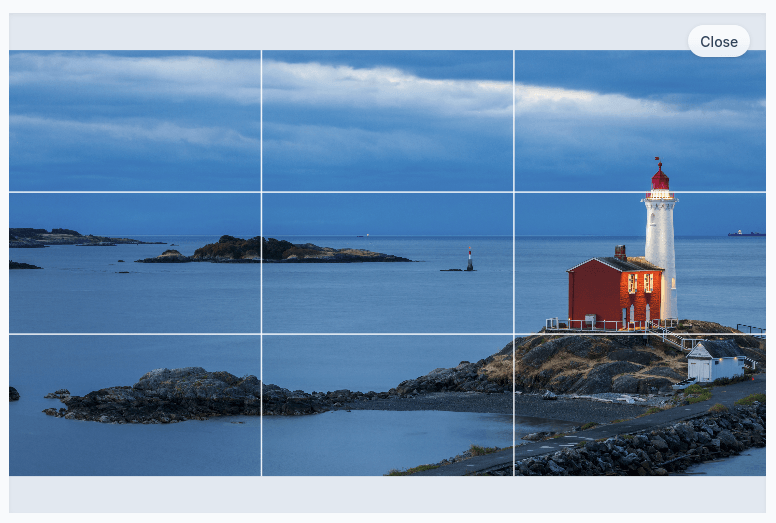
This method delivers the most immediate results. It’s about using Grid Page to slice a photo into multiple parts. For instance, a single stock image can be cut into a 3×3 grid and turned into nine separate photos for posting.
- Pros: Simple, and the effect is dramatic.
- Cons: Not everyone likes the grid posting format, and it places high demands on the original image. If you try this on a portrait, the grid will chop the face into pieces, and it’ll just look terrible.
But when the original image fits perfectly, the outcome is breathtaking. I once cropped a sea photo that had a boat and some birds. I used a 2×2 grid, and the main subjects landed nicely in the four separate cells. Each cell looked good on its own, and together they remained harmonious without cutting any key elements into pieces. The result genuinely impressed me.
So this method demands a lot from the original photo, but once you find the right one, the result will exceed your expectations.
These are my four go-to methods. I use them regularly to increase the originality of my image assets. Hope you find them helpful!