Today I want to share something really special with you: how to use this website to create your little one’s very own early-learning puzzles.
Why did I start making my own puzzles?
When my son was very young, I really wanted him to play with puzzles to develop his hand-eye coordination and fine motor skills. So, like most parents, I started out by buying him quite a few puzzle toys.
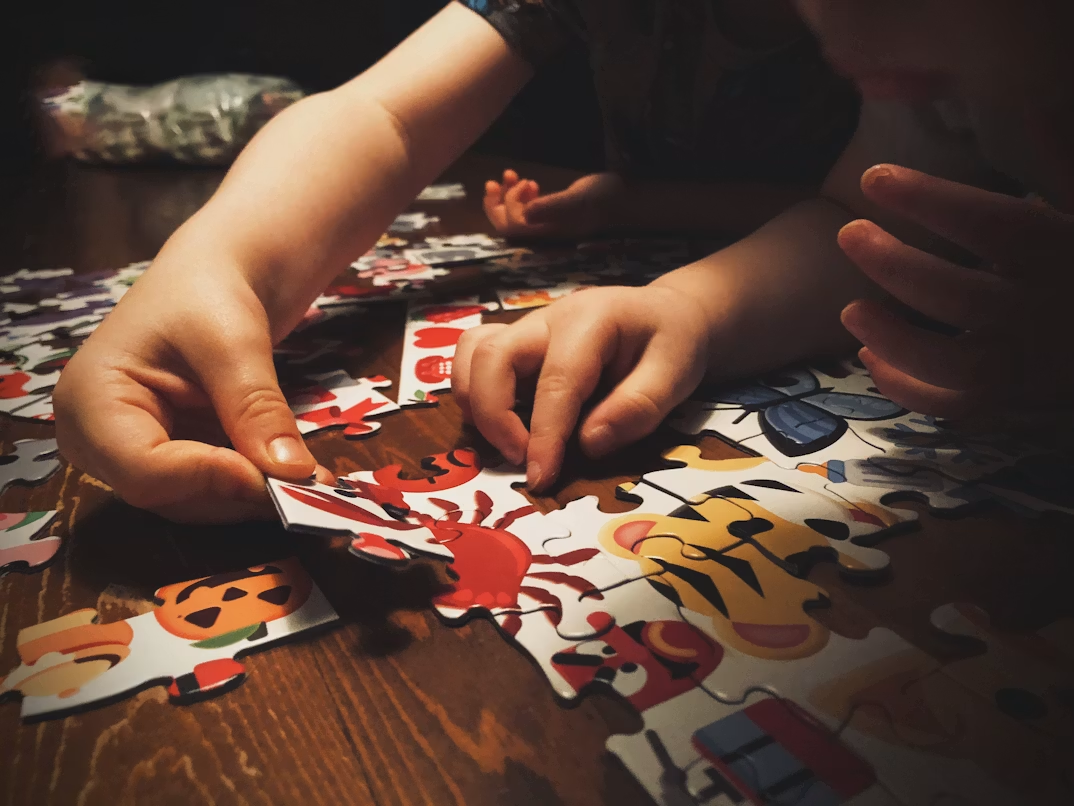
But I quickly ran into a few problems:
- He’d play with them two or three times and lose interest. For a child to come back to a puzzle again and again, the image needs to be something they’re genuinely excited about.
- Puzzle toys aren’t cheap. When a kid only plays with one a handful of times and then you need to buy a new one, it adds up and becomes a real drain on the family budget.
- The biggest issue: it’s nearly impossible to find puzzles in stores with images that keep him interested long-term. After a while, he’d simply get tired of the picture and refuse to put it together.
My solution
So I went online and found pictures of his favorite cartoon characters, cute animals, and even photos of me and my wife. Then I used our website’s Grid Page to slice the pictures into pieces, printed them out, and let him put them together.
And guess what? He was instantly hooked!
Because the puzzles were filled with his favorite characters, animals, and the people he knows best—Mom and Dad. When he’d finish one, he’d shout with pure joy, “Yay! I put Mommy and Daddy together!” He felt such a huge sense of accomplishment.
Plus, since he was piecing together images he already knew by heart, he had the full picture in his mind. If a piece was in the wrong place, he could tell right away, and he had a natural sense of what to do next. This really built his confidence—instead of staring at a completely unfamiliar image, not having a clue where to start, and quickly getting discouraged and giving up.
A few tips to share with you
1. Start simple and gradually increase the difficulty
If your child is still young and new to puzzles, don’t make it too hard in the beginning.
My son started with a 2×2—a picture cut into just 4 pieces. Then we slowly moved up to 3×3, 4×4, 5×5… Every so often, I’d increase the count by a little. Don’t jump too many levels at once. Once he’s really mastered one difficulty level, you can even take the exact same picture, cut it into smaller pieces, and it works like a charm.
2. Print on sturdy material
When you print your puzzles, use cardstock or something thick that doesn’t tear easily. Young children absolutely love to pull and rip things.
The first time I tried this, I used really flimsy paper. He’d be putting it together, accidentally grab a piece a bit too hard, and rip it—and that was the end of that puzzle session.
3. Number the backs for harder puzzles
If you later advance to a really challenging level, like 10×10, I’d suggest writing numbers on the back of each piece in order: 1, 2, 3, 4…
Otherwise, you might run into that dreaded situation where “you can’t solve it, and neither can he,” which can really knock a child’s confidence. When he runs into trouble, we need to be able to give him some guidance. If there are no numbers on the back, even you won’t be able to help him finish—and that’s just awkward for everyone.
A final thought
I truly believe puzzles are a wonderful game and tool during a child’s early developmental years. If you can use our website’s Grid Page to create puzzles he genuinely loves, it will help him tremendously. I can’t recommend it enough—give it a try!