I love taking photos, so when it’s a friend or family member’s birthday, or for some important anniversaries, I especially enjoy making e-cards for them.
Today, I’m sharing how to use our Crop Page to easily create beautiful e-cards to send to your friends and family.
Step 1: Decide What You Want to Say First, Instead of Choosing Photos
Before making an e-card, I think the first step is not cropping the photo or rushing to pick one. Instead, figure out these things first:
- What text do you want to write on the card? Do you want to include text at all?
- Do you want to add stickers? How many? Which ones?
These may seem simple, but if you don’t plan ahead and jump straight to selecting and cropping photos, you’ll likely find out later that there isn’t enough space for your text, or the text doesn’t match the overall photo. The result? You’ll have to start over—choose a different photo, re-crop—which wastes a lot of time.
So, planning your content first and then working on the image is a crucial order to follow.
Step 2: Pick Your Photo and Crop to the Right Aspect Ratio
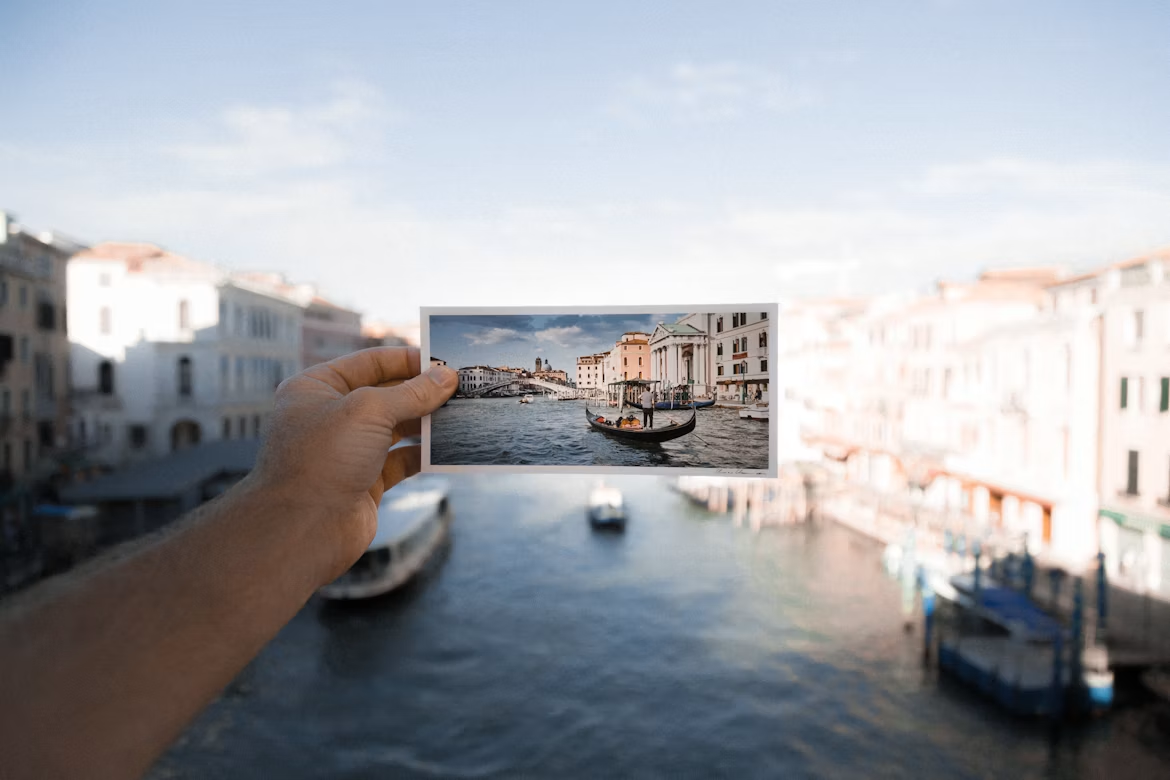
After you’ve decided on the content, you can pick a photo and move on to cropping. There are many aspect ratios to choose from for e-cards. My personal favorites and most-used ones are:
- Portrait 9:16
- Landscape 4:3
How to choose between these two? Mainly consider two things:
- a. Look at your photo itself: Is it a vertical composition or horizontal? Try to follow the photo’s original orientation when picking the ratio.
- b. Consider any future use: If you plan to turn your e-card into a video, then portrait 9:16 will be more suitable.
I personally use 4:3 more often. It leans more toward the traditional square card shape, which I find the most vintage and truest to the form of a greeting card—it feels the warmest. Plus, the 4:3 ratio is very comfortable; it can hold quite a bit of content without leaving the large empty spaces above and below that you often have to deal with in 9:16.
Once you’ve decided on the ratio, you can use our Crop Page to crop out the right area from your favorite photo.
Step 3: Plan Your White Space Ahead of Time—Direction and Size Matter
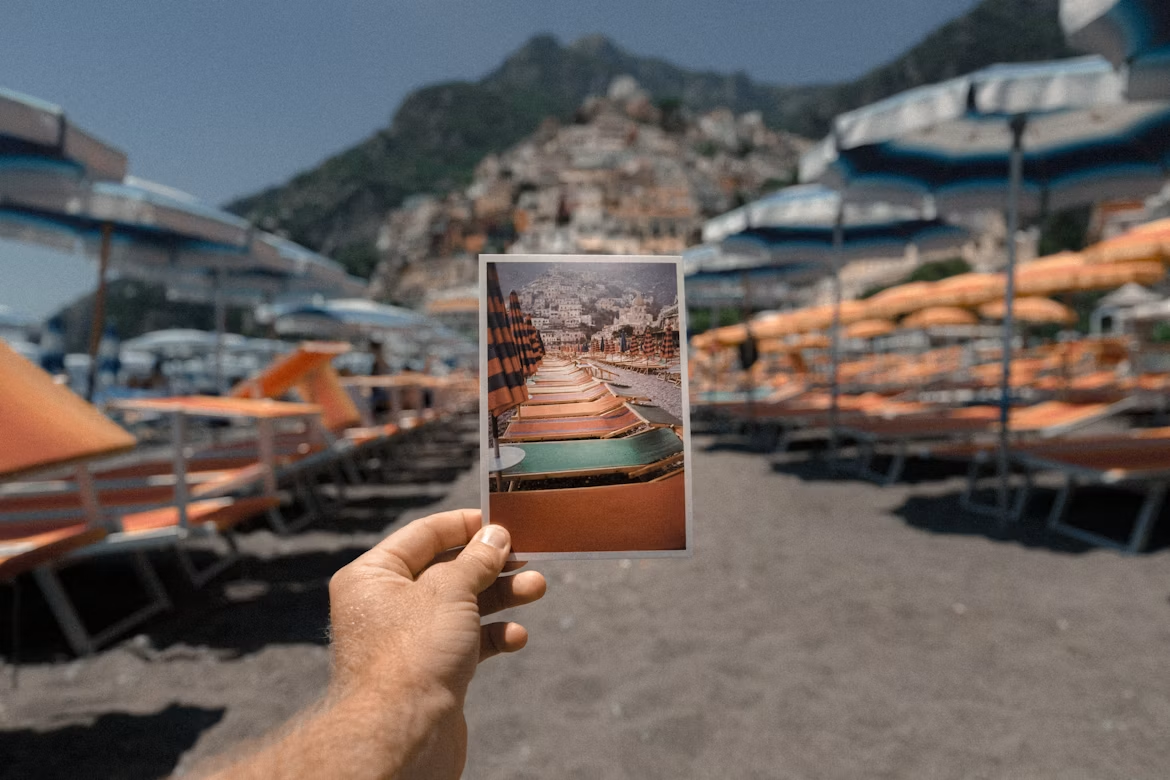
If you plan to add text to your e-card, make sure to leave blank space while cropping. When it comes to the direction and size of the white space, here are some details to keep in mind:
- Direction should follow the subject’s gaze: For instance, if the person in the photo is looking to the left, it’s best to place the text area on the left as well—this creates a more harmonious visual flow.
- What if there’s too much text? If you have a lot of text, don’t force it into the sky or a corner, resulting in cropping the person down to just a neck and head—that looks really bad. In that case, either adjust the layout or trim down the text appropriately.
- Never crop at the joints: When cropping photos with people, try to avoid cutting at the neck, knees, wrists, or other joints. Otherwise, the entire card can look a bit creepy—seriously, the effect is not good.
Too Many Photos? Try a Collage
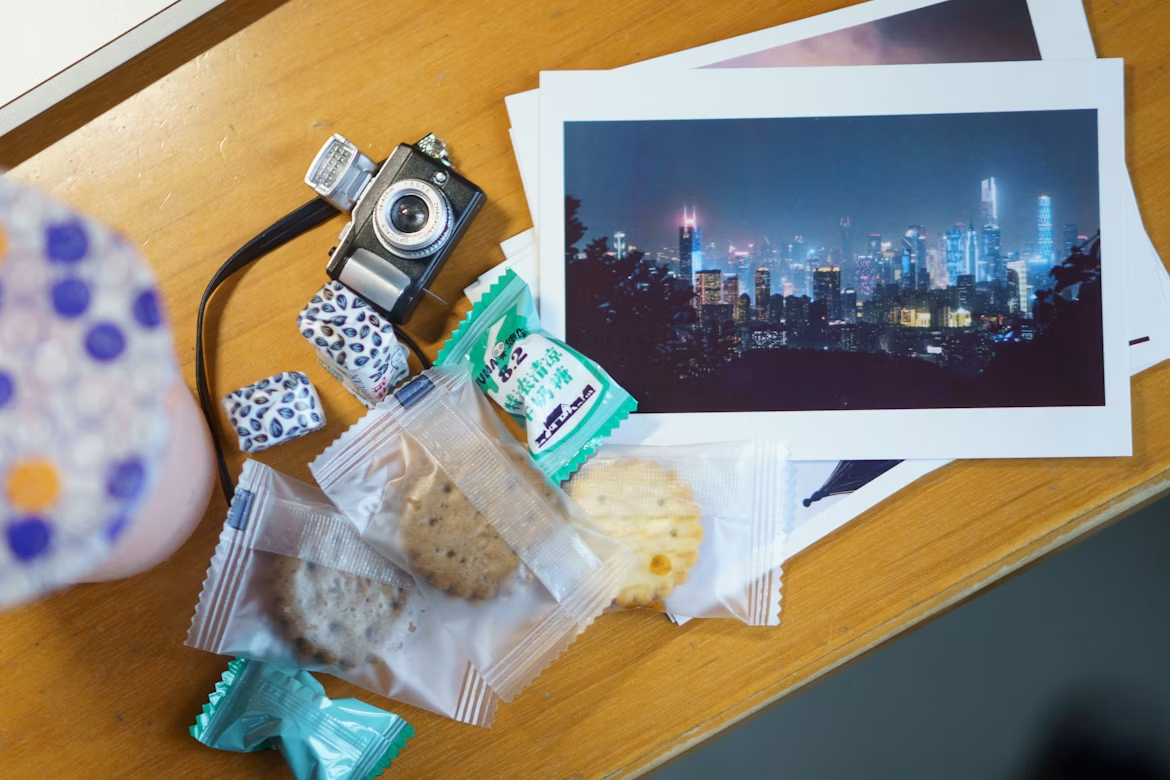
Sometimes when making anniversary-type cards, for example with a theme like “The Past Year,” I find there are just too many photos to choose from—each one is meaningful, and picking only one is really hard. That’s when you can use a collage approach.
Here’s how: Use our Crop Page to crop each photo into a 1:1 square, then assemble these little squares into a single e-card to form a mosaic layout. The overall card can still maintain the 4:3 aspect ratio, with the small squares arranged inside. For example, you could place all the small images in the left 3/4 of the card and leave the right 1/4 for text—you can arrange it however you like. This method is perfect when you have lots of photos and want to include them all.
Final Thoughts
I think making e-cards is a wonderful way to express the closeness of your relationship with someone. On their birthday, it’s far more thoughtful than just sending a “Happy Birthday” message, and it truly lets them feel that you genuinely value them.
So, if you have someone you really cherish, why not make them a handmade e-card on those special days?